Make One Printer Available to Your Whole Home or Office
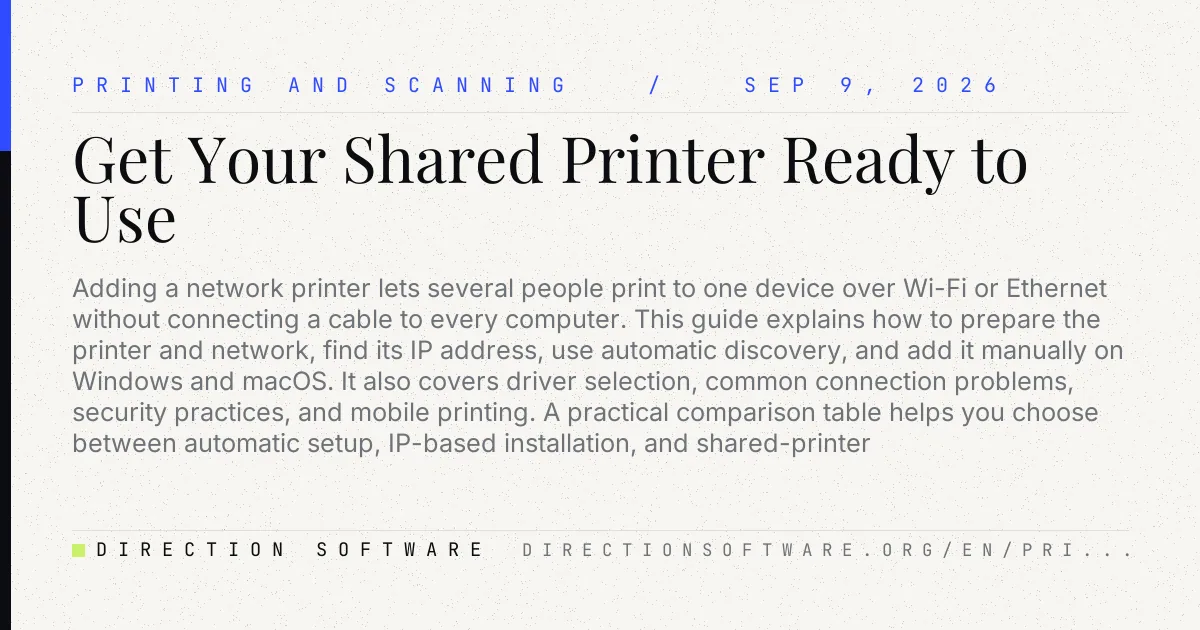
Sharing a printer on a local network lets several computers use one device without moving cables or relying on email transfers. This guide explains the main approaches: connecting a printer directly to Wi-Fi or Ethernet, sharing a USB printer through a Windows PC, and enabling printer sharing on macOS. It covers the preparation steps that prevent most connection problems, including checking network access, installing current drivers, choosing a clear printer name, and setting appropriate permissions. You will also find connection instructions for other computers, a comparison of the available methods, troubleshooting advice for common discovery and printing errors, and basic security practices for homes and small offices.
A shared printer can serve every computer on the same home or small-office network, reducing hardware costs and making routine printing much simpler. The most reliable setup depends on the printer itself: a model with built-in Wi-Fi or Ethernet should normally connect directly to the router, while a USB-only printer can be shared through a computer that remains powered on. This guide walks through both approaches and explains how to connect Windows and Mac computers safely.
Choose the right way to share the printer
Before changing settings, identify how the printer is connected. Look for an Ethernet port, Wi-Fi setup option, or a USB cable connected to a computer. Direct network connections are generally preferable because the printer stays available even when individual computers are asleep or shut down.
| Method | Best for | What must stay on | Main consideration |
|---|---|---|---|
| Printer connected by Wi-Fi | Homes and flexible workspaces | Router and printer | Signal quality affects reliability. |
| Printer connected by Ethernet | Small offices and fixed locations | Router/switch and printer | Usually the most stable connection. |
| USB printer shared from Windows | Older USB-only printers | Host PC, router, and printer | The host PC must be awake and connected. |
| USB printer shared from macOS | Mac-centered environments | Host Mac, router, and printer | Some Windows clients may need vendor drivers. |
Prepare the network and printer
Complete a few checks before enabling sharing. They prevent most cases where a printer appears briefly and then becomes unavailable.
- Connect every device to the same local network. A guest Wi-Fi network is often isolated from other devices.
- Confirm that the printer can print a local test page.
- Install the current printer driver or manufacturer app on the computer used for setup.
- Use a private or trusted network profile on the Windows host computer, not a public profile.
- Give the printer a descriptive name, such as Reception-Color or Home-Office-Laser.
If your router offers separate 2.4 GHz and 5 GHz wireless bands, check the printer documentation. Many older wireless printers support only 2.4 GHz, although they can still communicate with devices on the other band when the router allows local traffic between them.
Set up a printer with its own network connection
For a Wi-Fi or Ethernet-capable printer, use its control panel, setup utility, or manufacturer app to join the local network. Ethernet is usually straightforward: plug a network cable from the printer into the router or switch, then wait for the printer to receive an address. For Wi-Fi, select the correct network name and enter its password, or use the router's supported pairing method if available.
Add the printer in Windows
- Open Settings, then select Bluetooth & devices and Printers & scanners.
- Select Add device beside Add a printer or scanner.
- Wait for the printer to appear, then choose Add device.
- Print a test page from the printer's properties or from an application.
If Windows does not find it, select the option indicating that the printer is not listed. Add it by TCP/IP address or hostname when the printer's network configuration page provides that information. Reserving the printer's address in the router can make long-term management easier, especially in an office.
Add the printer in macOS
Open System Settings, choose Printers & Scanners, and click Add Printer, Scanner, or Fax. Select the detected printer and allow macOS to use AirPrint or the appropriate driver. If it is absent from the list, use the IP tab and enter the printer's address, selecting the recommended protocol and driver when prompted.
A printer with a direct Ethernet or Wi-Fi connection is not merely “shared” by one computer; it is a network device. This removes a major point of failure because no host computer has to stay signed in, awake, and connected.
Share a USB printer from a Windows PC
Use this method only when the printer cannot join the network itself. Connect the USB printer to a reliable Windows PC, install its driver, and verify that it prints locally before sharing it.
- On the host PC, open Settings and go to Bluetooth & devices > Printers & scanners.
- Select the USB printer, open Printer properties, and choose the Sharing tab.
- Check Share this printer and enter a short, recognizable share name.
- Optionally select Render print jobs on client computers if it is appropriate for your driver and environment.
- Ensure the host PC is set to a private network and that Network Discovery and File and Printer Sharing are enabled in advanced sharing settings.
On another Windows computer, return to Printers & scanners and add the discovered shared printer. If discovery is unreliable, browse the network or use the host computer name and share name, commonly displayed in the form \\HostComputer\PrinterShare. You may be asked for an account on the host PC, particularly when password-protected sharing is enabled.
Share a USB printer from a Mac
Connect the USB printer to the Mac, add it under System Settings > Printers & Scanners, and print a test page first. Then open General > Sharing and enable Printer Sharing. Select the printer from the list and choose which local users may print.
Other Macs on the network can normally find the shared device in Printers & Scanners. For mixed Windows and Mac networks, a direct network connection or manufacturer-supported network setup is often easier than relying on computer-hosted sharing. Driver compatibility can vary, especially for scanners and advanced finishing options.
Control access and keep printing dependable
Printer sharing should be limited to people who need it. On a home network, this may be everyone in the household. In a workplace, restrict access through operating-system user accounts or print management tools. Avoid exposing printer administration pages or sharing services to the public internet.
- Use a strong Wi-Fi password and WPA2 or WPA3 security where available.
- Disable guest access to the main network if guests do not need to print.
- Update printer firmware and computer operating systems periodically.
- Change the printer's default administrator password if it has a web management page.
- Keep the host computer awake during working hours when using USB sharing.
For offices with frequent printing, place the printer near a wired network connection and use Ethernet. It reduces wireless interference and makes the device easier to locate and support.
Troubleshoot common connection problems
The printer is not visible
First, confirm that the computer and printer are on the same non-guest network. Restart the printer, then restart the router only if other network devices are also having trouble. Print the printer's network status page to check its address and signal status. On Windows, verify that Network Discovery and File and Printer Sharing are permitted on private networks.
The printer appears but jobs remain queued
Check that the printer is online, has paper and toner or ink, and has no error message on its display. Cancel stuck jobs, restart the printer, and try again. If the issue affects only one computer, remove and re-add the printer or reinstall the manufacturer driver. For a Windows-shared USB printer, make sure the host PC is powered on and not sleeping.
Printing works, but scanning does not
Printing and scanning may use different services. Install the manufacturer's full software package if needed, ensure the scanner is added separately where required, and check that local firewall settings are not blocking the vendor's scanning utility. A direct network setup usually gives multifunction printers the best chance of supporting both features across multiple computers.